THROW PILLOWS-Hello Kitty Makeover
I've got some great news!!!
Jesus loves you :)
OK onto my regularly scheduled,
Hello Kitty, howdy, happy, hurry up, HOW-TO, (h)update.
Sorry, couldn't resist the h's hahaha
oops, see?!
Moving. On.
I've been sharing how I completed everything in my daughter's room,
in the order that it's seen from her door:
ie. left side of room by closet working towards the right.
This is the 4th entry, post-reveal ,
and technically the 6th HOW-TO, of all the projects completed.
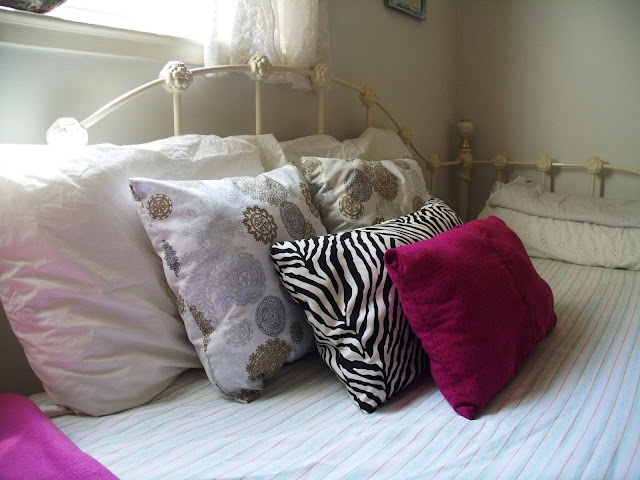
THROW PILLOWS
from extra fabric & old blouse
Previous purchases: $0 current expense
from extra fabric & old blouse
Previous purchases: $0 current expense
The 2 white pillows in the back we already had.
The left one was OVERSTUFFED and the right one UNDER STUFFED,
so I "borrowed" some from left to fix the right.
The medallion & zebra pillows were made with fabric I had purchased a year ago
from Joann's fabrics. I remember they were on sale.
 |
| I cut the fabric, turned inside out, sewed the edges, left about 4 inches open, turned back out the right way, stuffed and then sewed the opening. |
They were my Grama B's before, not sure if she made them or bought them.
Either way, I kept the shell of the pillows because I could never give them away.
The zebra pillow was going to be a rectangle one.

That's it!
But, now my closet became a target
for "fabric" shopping.
lol
I did the same here and stuffed it with a different throw pillow I had thrifted years ago.
 |
| The blouse was already worn out but perfect for a pillow! |
And the buttoned pink one came from here.
I cut across the top, right under the arms.
I then sew down the length of the buttons so it wouldn't open
and have pillow "guts" come out. hahaha
Then I turned inside out, sewed the top, most of the bottom,
turned out the right way, stuffed and sewed.

That's it!
But, now my closet became a target
for "fabric" shopping.
lol


Comments
Post a Comment